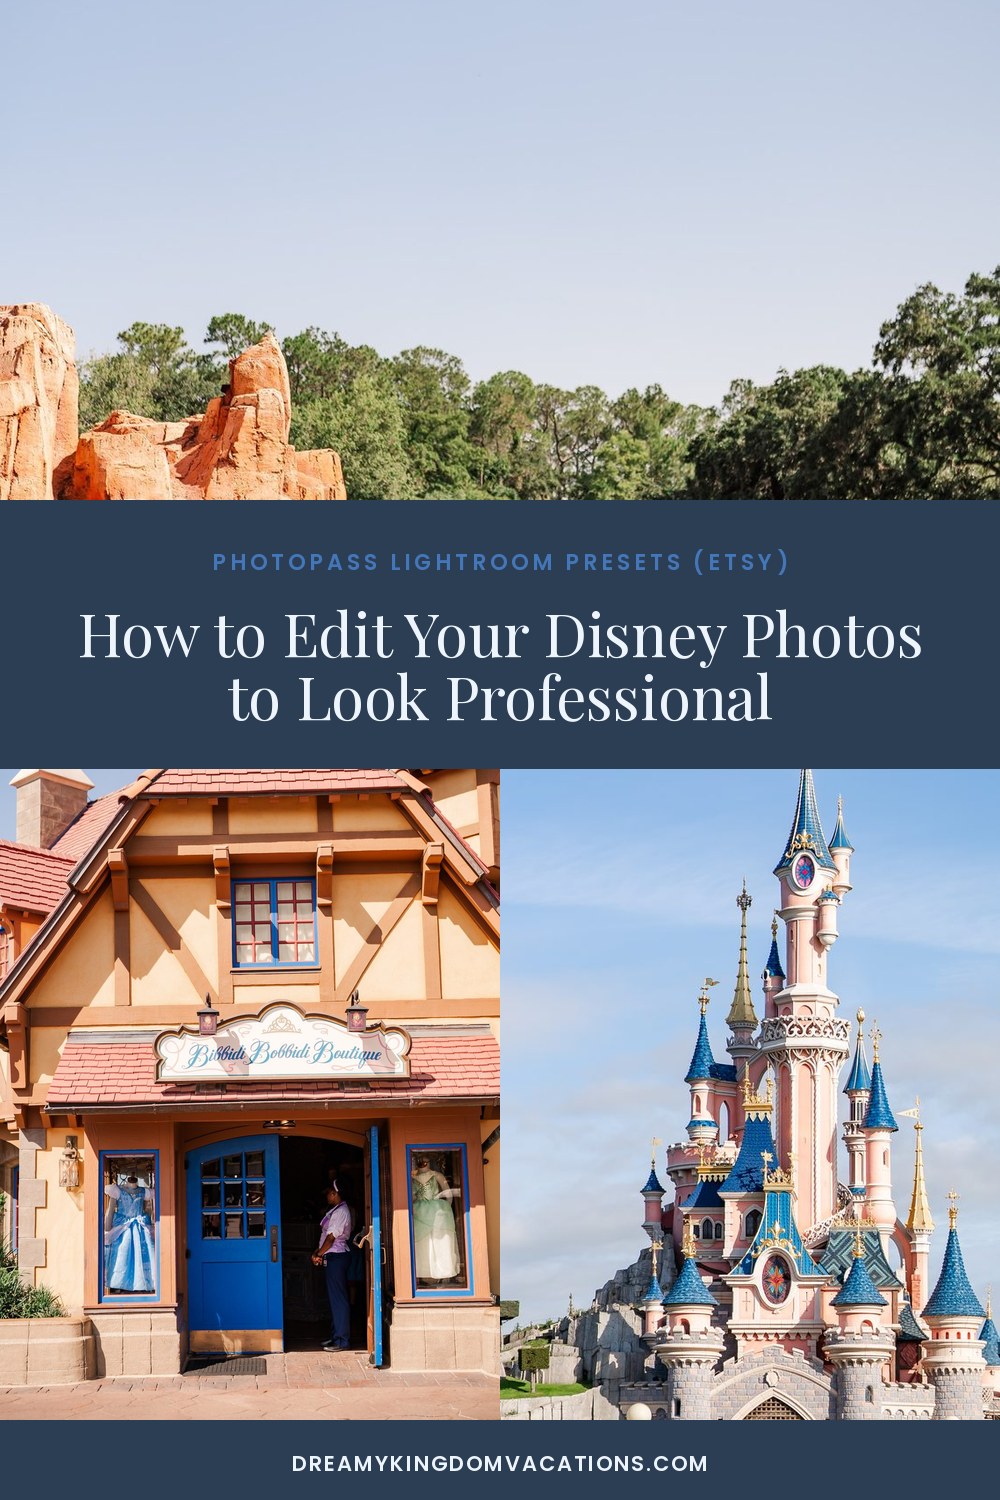
Ever notice how some Disney feeds just glow — bright castles, popping colors, that dreamy storybook look — while your photos come out flat and a little gray? The difference usually isn't the camera. It's the edit. Once you know how to edit Disney photos, even phone shots can look like they belong on a magazine cover.
Here's what actually moves the needle.
Start with brightness and warmth
Disney is colorful and cheerful, so your edits should feel that way. Two quick wins:
- Lift exposure and shadows so the photo feels airy, not murky.
- Nudge warmth up a touch — that golden, sunny feel reads as "magic."
Already you're most of the way to a brighter, happier image.
Make the colors pop (without going neon)
Disney photography lives and dies on color. Boost vibrance more than saturation — vibrance protects skin tones while making the castle blues and balloon reds sing. Then gently lift the blues and magentas if your castle looks washed out.
The goal is "bright and dreamy," not "oversaturated cartoon." Pull back until it feels real but elevated.
Keep it consistent across your feed
A cohesive feed is what makes you look professional. The trick the pros use: apply the same look to every photo so your grid feels intentional. That's exactly what presets do — one tap applies your brightness, warmth, and color recipe to any image, so 30 photos match in minutes instead of hours.
The shortcut
If tweaking sliders isn't your thing, a set of Disney-tuned Lightroom presets does the whole recipe for you — built specifically for park lighting, castle colors, and that warm, magical glow. Import, tap, done. Your phone photos suddenly look like a content creator's.
Bright, warm, colorful, consistent — nail those four and your Disney feed instantly looks a level more polished.